
HEALTH & LIFESTYLE
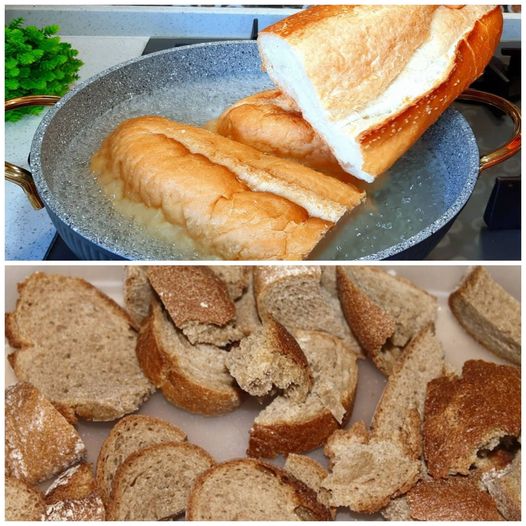
Reviving Stale Bread: A Boiling Water Trick That Will Change the Way You Cook!
Continue Reading


-

 SPORTS11 months ago
Alan Walker to Unleash ‘Horror House’ at San Francisco’s Bill Graham Auditorium
-

 IN-THE-NEWS6 months ago
Заманбек Нұрқаділовтің экс-жұбайы дүниеден озды
-

 SPORTS9 months ago
Shuttlecock Genius Ahn Se-young Advances to Olympics Semifinals with Inspiring Comeback Against Yamaguchi
-

 IN-THE-NEWS10 months ago
Video of Labour Leaders Arriving Aso Rock For Meeting With President Tinubu Over Minimum Wage
-

 METRO11 months ago
Faces of shame: Yes Mps who used powers in finance bill
-

 IN-THE-NEWS6 months ago
Каратэден әлем чемпионатына қатысатын Қазақстан құрамасы анықталды
-

 SPORTS9 months ago
Lisa Barbelin Claims Bronze in Historic Olympic Triumph for French Women’s Archery
-

 SPORTS10 months ago
Summer Fun with Sport-ados Activities in Mellac