
HEALTH & LIFESTYLE
Growing Plump, White Bean Sprouts at Home Using Plastic Bottles: A Simple DIY Guide
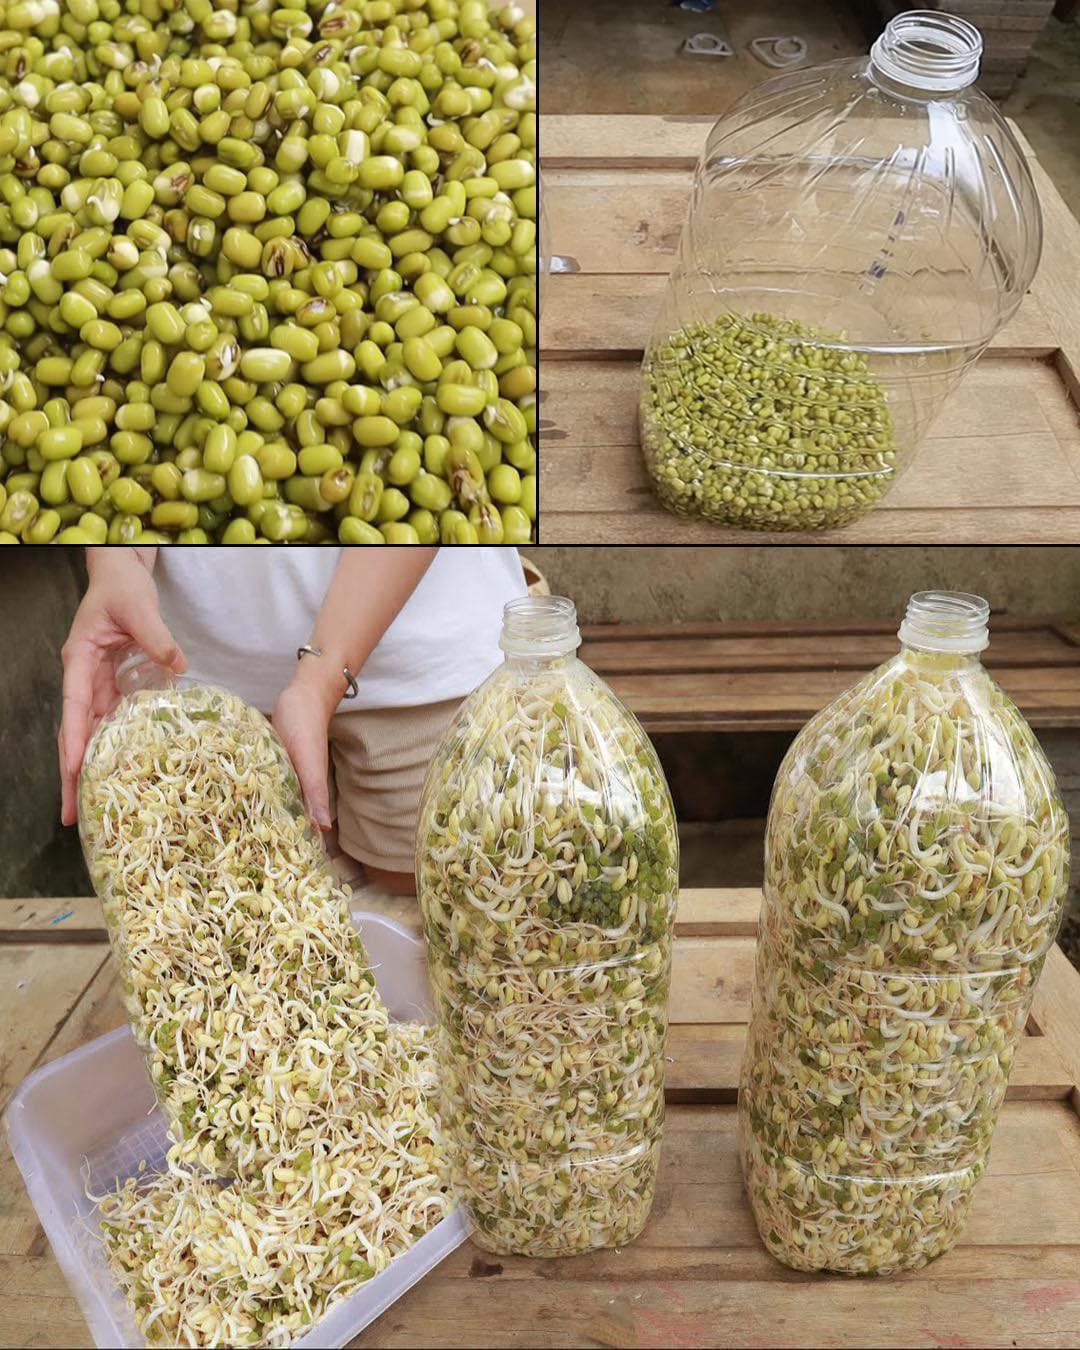
Continue Reading

HEALTH & LIFESTYLE
Uterine Cancer: Stay Away From These 4 Things To Avoid The Risk Of Being A Victim

-

 SPORTS11 months ago
Volleyball: Les Bleus overturn Italy and join Poland in the Nations League semi-finals
-
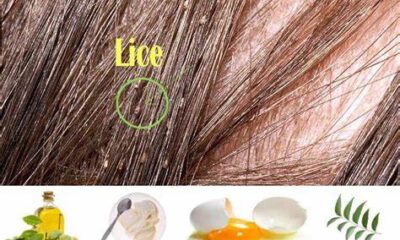
 HEALTH & LIFESTYLE6 months ago
How to Get Rid of Head Lice Naturally:16 Remedies Work
-

 SPORTS9 months ago
From Heartbreak to Glory: How Spain’s Women 3×3 Basketball Team Clinched Silver in a Thrilling Olympic Journey
-

 SPORTS10 months ago
Euro 2024: Why the final will be particularly exciting
-

 SPORTS11 months ago
Vasco Close to Announcing Return of “Trio of Youngsters” to the Club
-

 METRO6 months ago
Thanks to this Nigerian herbalist, British colonialists in West Africa survived Malaria in the 1900s
-

 SPORTS9 months ago
Kauli Vaast, the Tahiti prodigy crowned on “his” wave: “Even far from the coast, I could hear the audience singing”
-

 METRO10 months ago
Only Those With High IQs Will Spot The Second Horse in This Head Scratching Optical Illusion