The delight of each couple might be entire if the female takes in and awards after the marriage organization regardless while this doesn’t occur, there might be a way of thinking in ready as stand-separated solicitations can be introduced. As a female, how is it that it could be possible that you would understanding while you can’t hold after your wedding organization by ethicalness of a destroyed belly? Such endless associations have fallen thusly and this is the clarification I shaped this article.
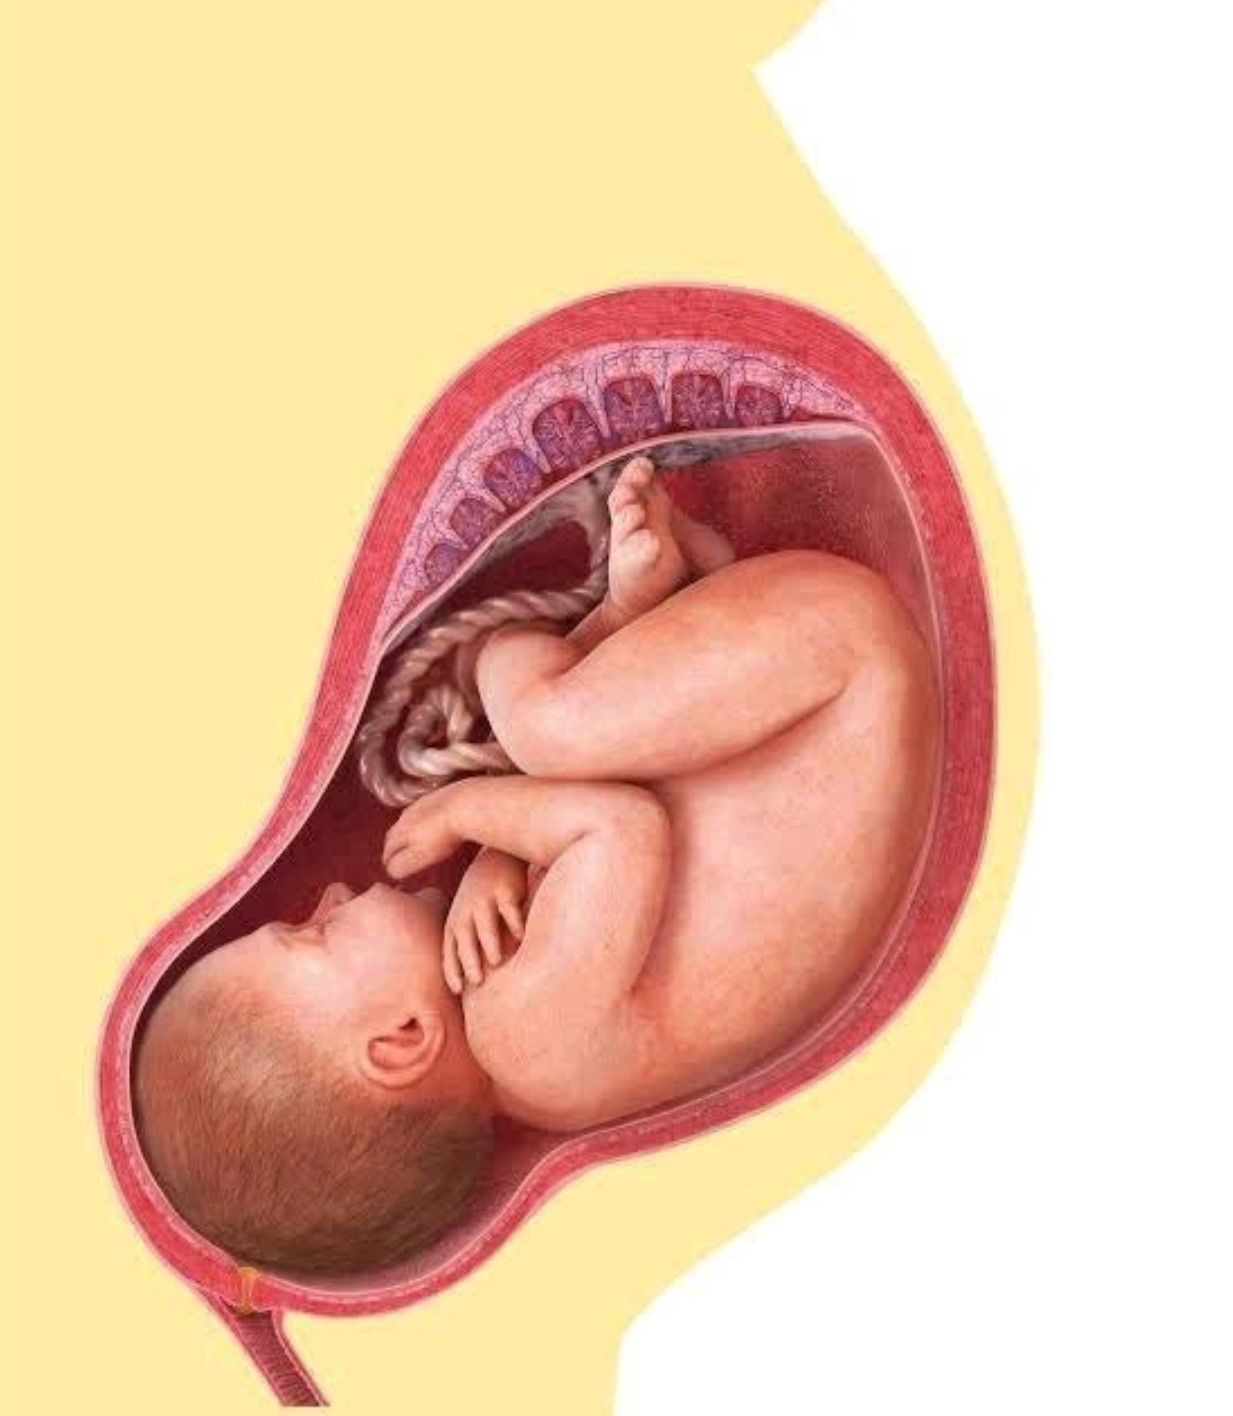
The stomach of a young lady could be astoundingly touchy considering the way that it’s miles going to house the youth. That is the clarification satisfactory idea and interest should perceive to it…Click Here To Continue Reading>> …Click Here To Continue Reading>>
Incredibly, such an immense heap of more young ladies have broken their stomach considering the sort of vulgarities they have participation in. Indecencies containing child ejection and utilization of being pregnant control tablets can pass a somewhat long way to deal with hurt the uterus. A few reliable conditions in addition can impact the uterus (stomach), which wires polyps, endometriosis, fibroids, adenomyosis, and hurtful turn of events.
Right when your stomach is impacted, there are positive coincidental impacts and signs your edge will begin to pass on you. Some of them intertwine;
.Trouble withinside the uterine region.
.Amazing or critical vaginal passing on.
.Unpredictable month to month cycle.
.Astonishing vaginal conveyance.
.Trouble withinside the pelvis, decline stomach or rectal area.
.Expanded genteel pulverizing. READ FULL STORY HERE>>>CLICK HERE TO CONTINUE READING>>>
.Expanded pee.
.Trouble for the length of intercourse.
Certain lead can accomplish gut hurt. Some of them solidify;
1. Alcohol
Drinking liquor senselessly can hurt the stomach of a woman considering the pointless proportion of ethanol found in it. Studies have other than shown that solid ingesting in young ladies can reason changes in ovulation, cycle law and ovarian save. It additionally can save you right implantation withinside the uterus, achieving a sped up cost of early deficit of the being pregnant or resorption. This can emerge on a very basic level sooner than a woman remembers she is pregnant. Liquor likewise can hurt specific crucial organs withinside the bundling consequently avoid it.
2. Maltreatment of pills
is is the most extraordinarily horrendous exercise to have correspondence considering reality over the top cases can hurt the stomach to a huge volume expressly while battered. This other than will wind up being extra risky while a lady is pregnant. Maltreatment of medication finally of being pregnant can accomplish transport deserts, off-kilter kids, underweight infant kids, and stillborn births. Interminably conform to the docs course of action while killing compartments to keep from waist hurt.
3. Diverse sexual mates
A couple of sexual colleagues isn’t strong and might shoot the danger of your midriff being broken. Precisely when you have a couple of sexual accomplices, your shot at getting a STD furthermore increments. Aftermaths of STDs can cause vanity in youths particularly chlamydia and gonorrhea. The surprising strategy to avoid contamination of STDs is to limition the proportion of sexual accomplices and exercise secure sex. These disorders can assault your fallopian chambers and uterus until the end of time.
Dear women, you have been unequivocally and magnificently made and this is the clarification you should remain mindful of your self standard for marriage. Keep from those three matters above for your stomach.
A commitment of appreciation is all together for investigating.


 SPORTS9 months ago
 METRO9 months ago
 IN-THE-NEWS10 months ago
 METRO7 months ago
 METRO9 months ago
 METRO9 months ago
 IN-THE-NEWS10 months ago
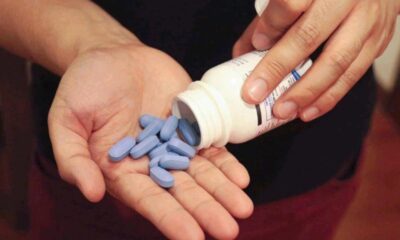
 HEALTH & LIFESTYLE7 months ago